Getting Started
SaaS Cancellation FlowsHow Raaft works
Connecting your Payment Processor


Technical Set Up
Creating Flows
What is a FlowRetention OffersMultiple active FlowsFAQsUsing the Raaft App
DashboardReportingCustomers At-riskZapier IntegrationMultiple Active Flows
Did you know that you can show different flows to different groups of users?
Raaft allows you to have multiple retention flows active at once and to switch between them you can set audiences.
For example, you could target each of the following groups with specific language, surveys, and offers:
- Trialing customers who do not convert
- Customers on a basic plan
- Customers on a premium plan
- Customers on a monthly plan
and more.
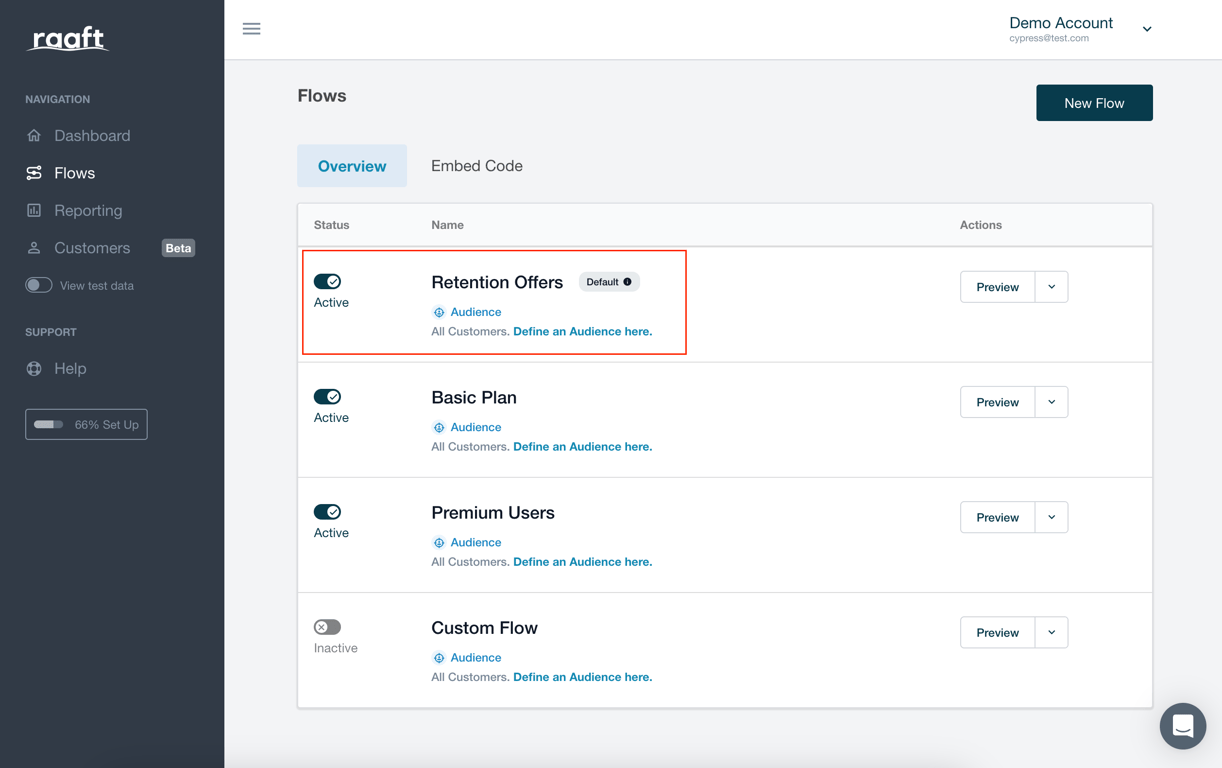
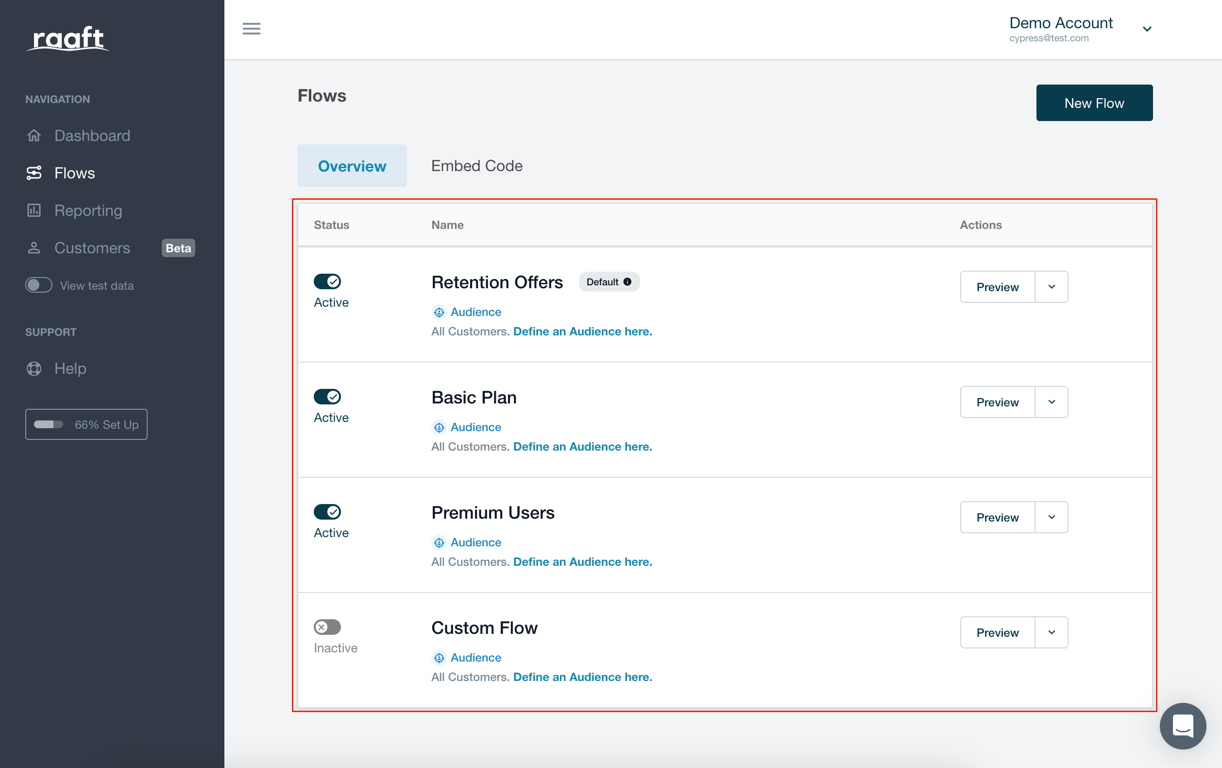
To access this page, you just need to go to “Flows” on the navigation menu (left side). Once you open it you will have an overview of which retention flows are active.
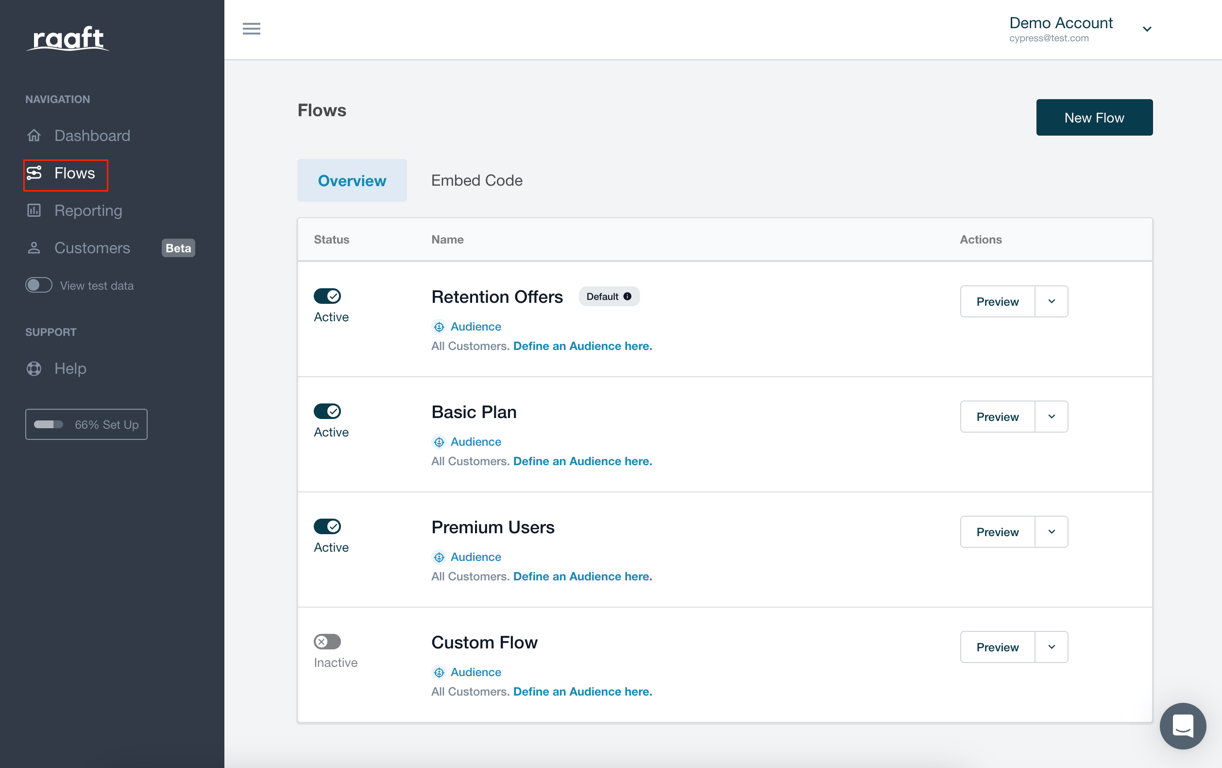
How are retention flows displayed?
To display different flows for different groups of subscriber we use audiences that target certain groups.
Each retention flow can have it’s own audience, which in turn can have multiple groups of conditions that match specific subscribers groups.
To set an audience for a flow you need to click below the retention flow name:
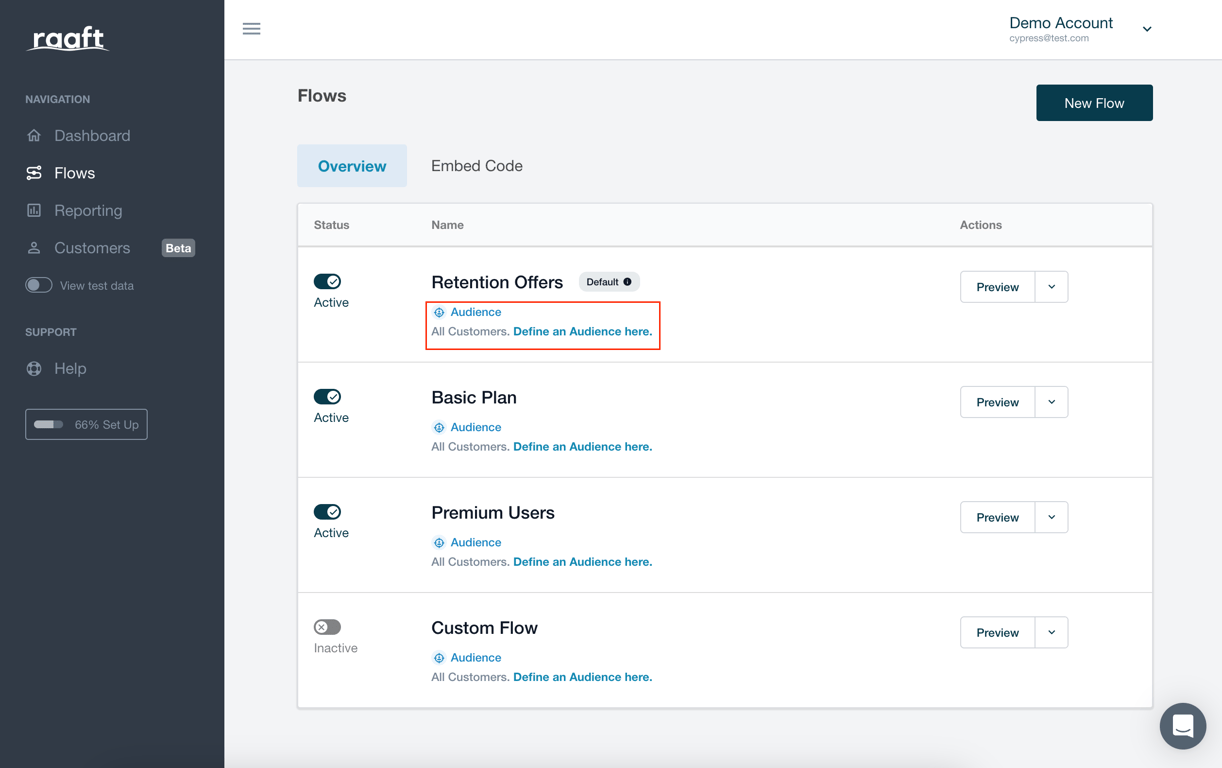
A popup will appear. This is where you’ll be able to configure an audience with specific conditions.
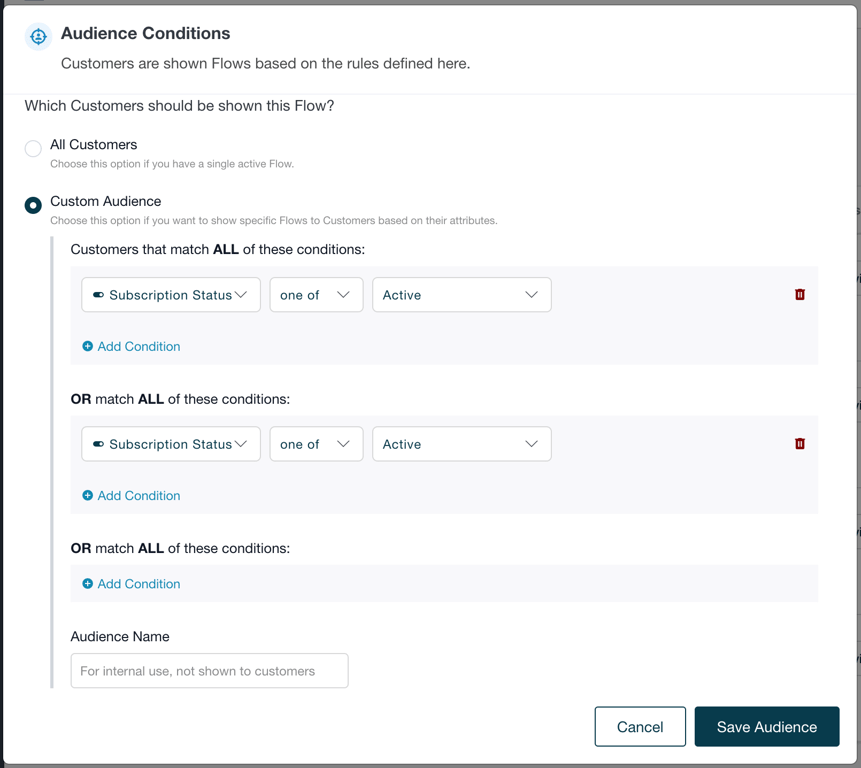
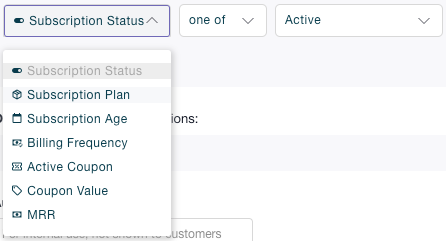
Each condition group can have up to 7 different fields, and all fields within a group must match the subscriber.
The retention flow selected to be displayed will be the that has at least one group will all conditions matching. If more that one retention flow has matching audiences, the one with the most matching conditions in one group will be selected.
In case no audience matches the subscriber, or no audience is defined, the Default retention flow will be the one displayed to the user.
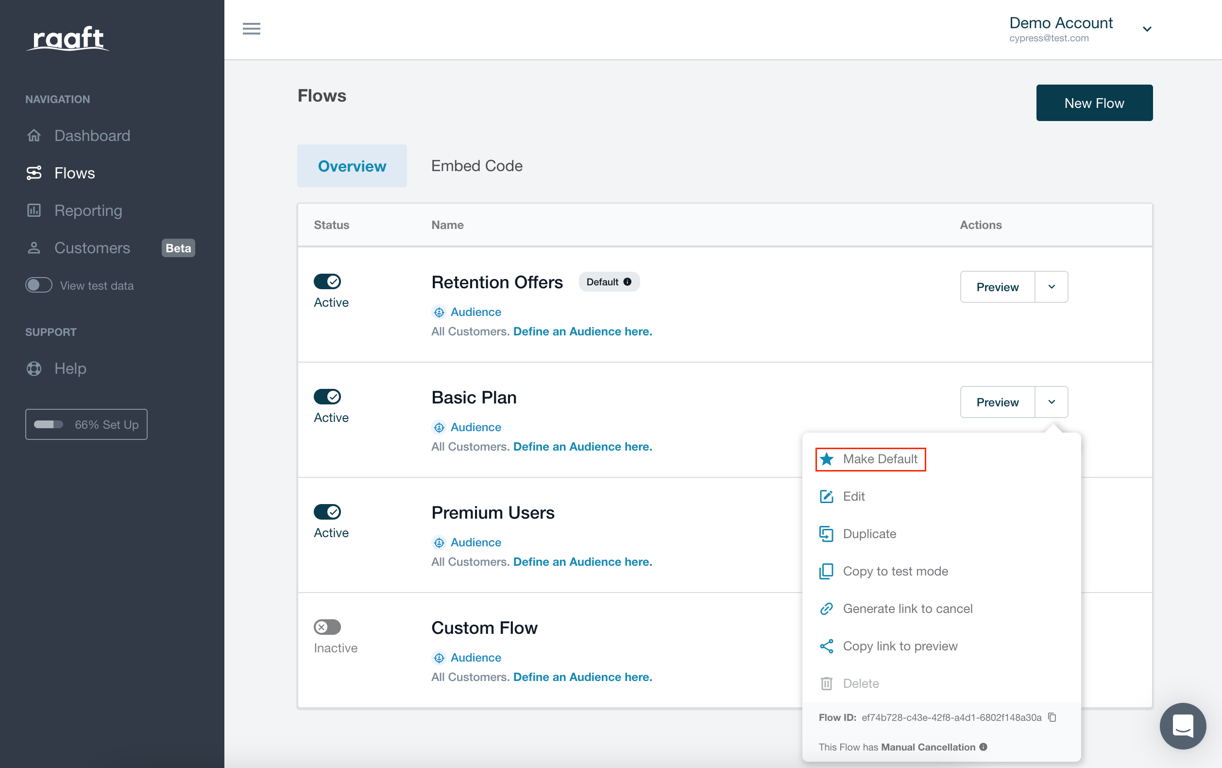
Setting a default retention flow
The first active flow is always considered the default. Simply select the actions dropdown and choose to Make Default.
Setting an alternate retention flow
Once you have a Default retention flow, you can activate additional flows as alternates.
You can also switch retention flows from alternate to default at any time by clicking on the retention flow actions menu.
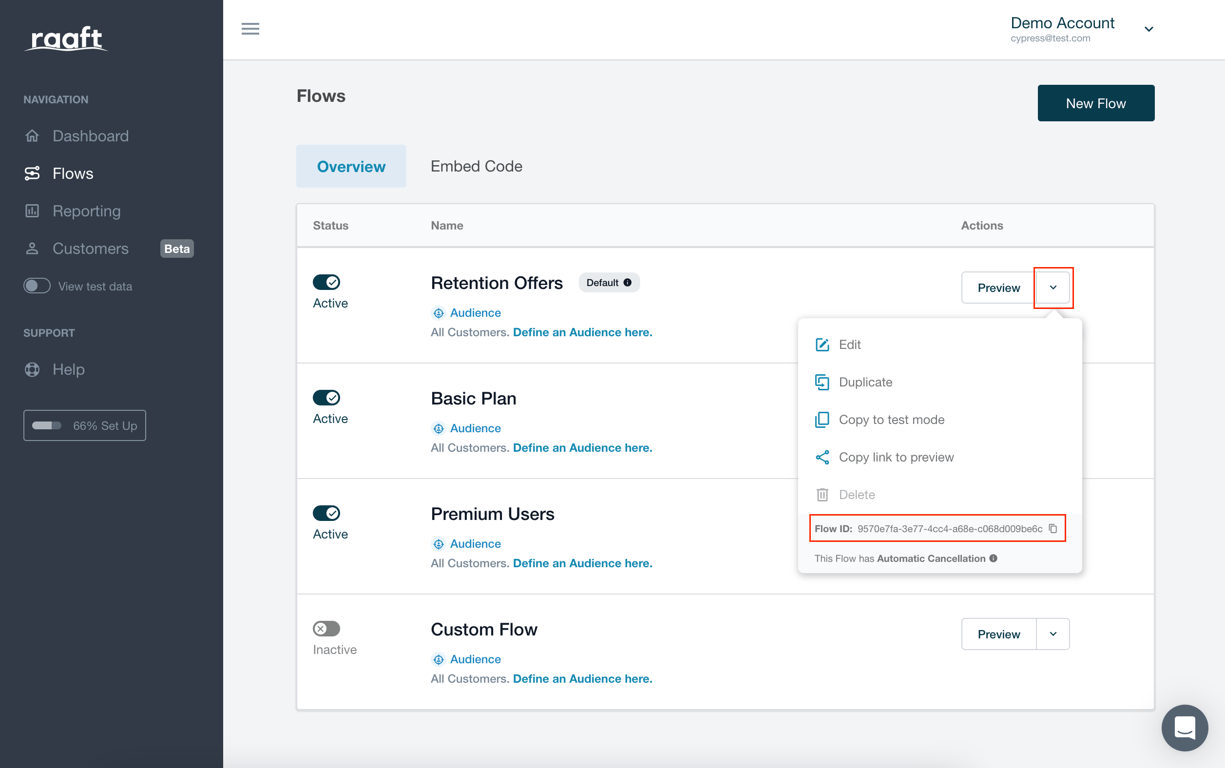
Retention Flow IDs
If you want to override the audiences, or need set a specific flow that no audience matches, you can pass the flow id directly.
To check the ID of each one of the retention flows you have, you simply click on the retention flow actions menu, and at the bottom you will be able to see the flow’s ID.
If you have any issues at any point, feel free to write us at hello@raaft.io or reach out via the chat in the bottom-right corner of the screen of the app.
 Made with Bullet